
Screen Printing
Screen printing is one of the most common applications of printing technology, especially for custom T-shirts, apparel, and textiles.
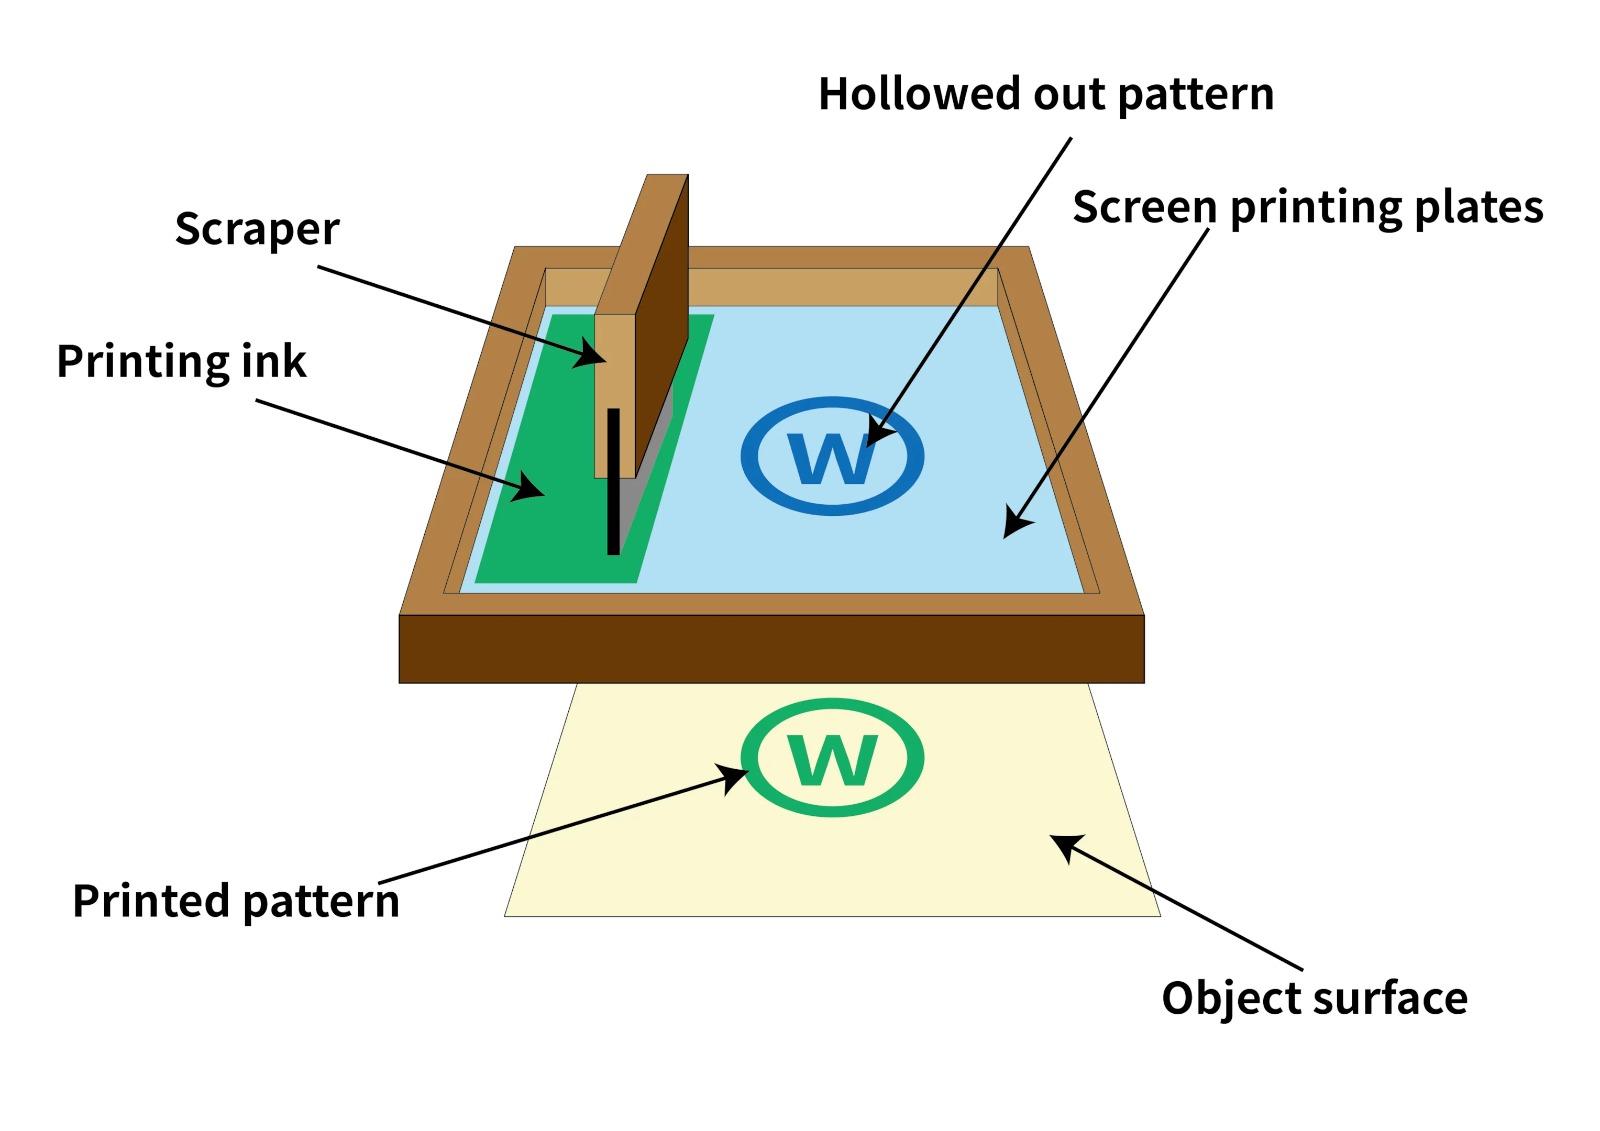
The process involves using a stencil (or screen) to apply ink onto fabric, transferring the design you want to create. Here’s a detailed breakdown of how screen printing works on fabric:
How We Screen Printing Works:
Screen printing involves transferring ink through a mesh screen onto a surface (such as fabric, paper, or other materials) using a stencil or design. The process is relatively simple, but it involves a few essential steps to ensure high-quality prints.
What We Need for Screen Printing Step-by-Step Process:
To start screen printing, you will need some essential equipment and materials. Here’s a list of the key items:
1. Screen (Mesh Frame)
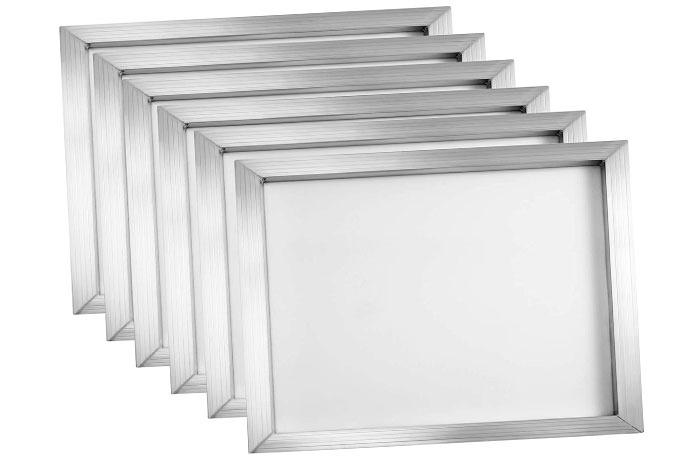
- The screen is made of a fine mesh stretched over a frame. The mesh size depends on the detail of the design and the type of material being printed.
2. Emulsion or Stencil
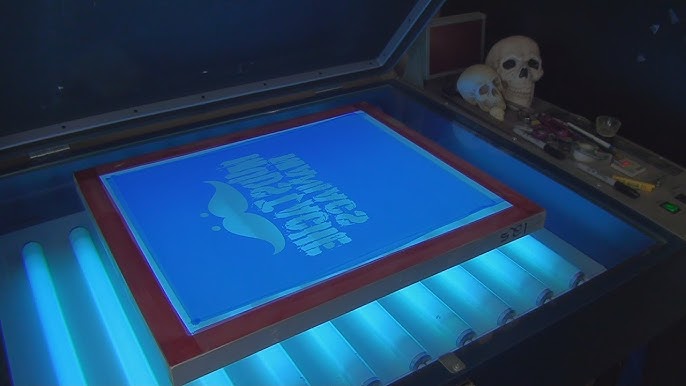
- Emulsion: A light-sensitive liquid applied to the screen that hardens when exposed to light. After exposure, the emulsion is washed away in the areas where the design is.
- Pre-made Stencil: A ready-made design that you can use for simpler screen printing jobs.
3. Squeegee
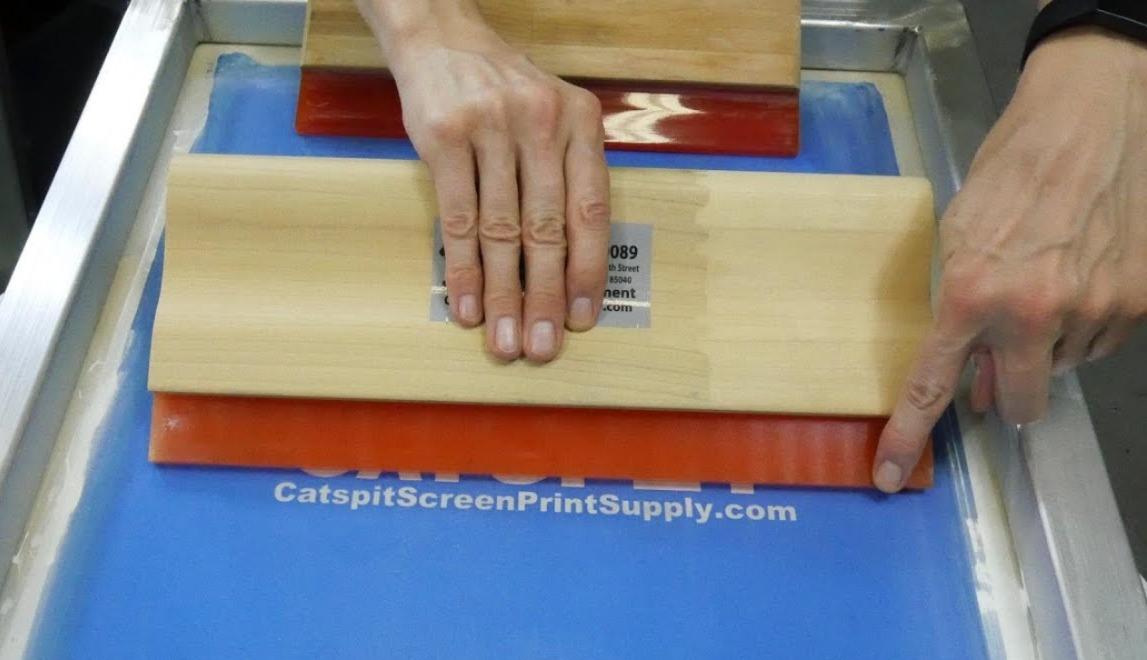
- A flat rubber blade used to spread ink across the screen. The squeegee applies pressure to push ink through the mesh.
4. Ink or Chemical
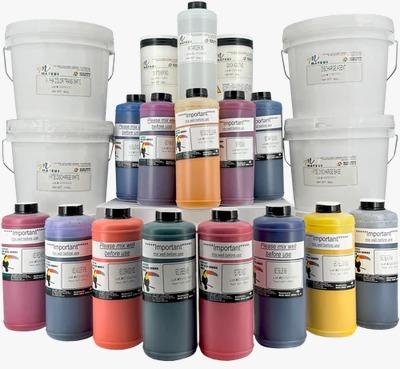
- Specialized screen printing ink is used for different materials (fabric ink, Rubber ink, etc.). Choose the right type based on the material you are printing on (e.g., plastisol ink for fabric).
5. Light Source (for Exposure)
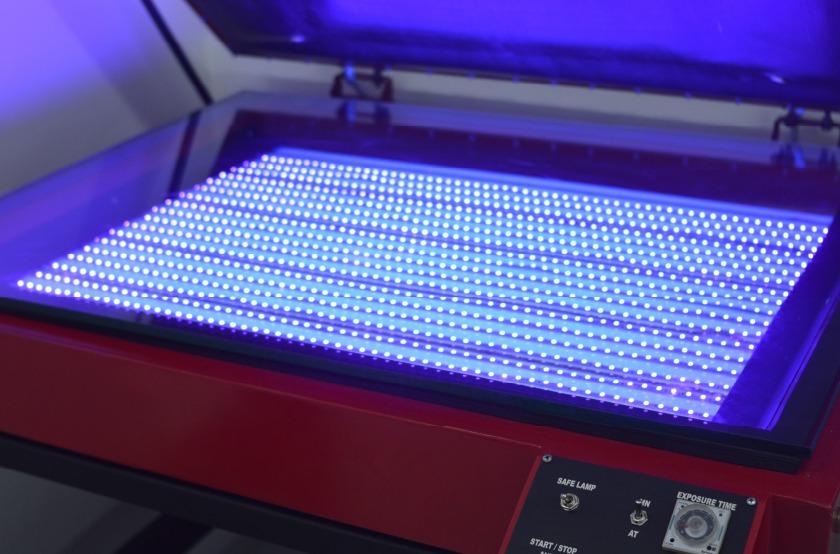
- For exposing the emulsion to create the stencil, you’ll need a light source like a UV exposure unit, or a simple lightbox setup can be used.
6. Printing Surface
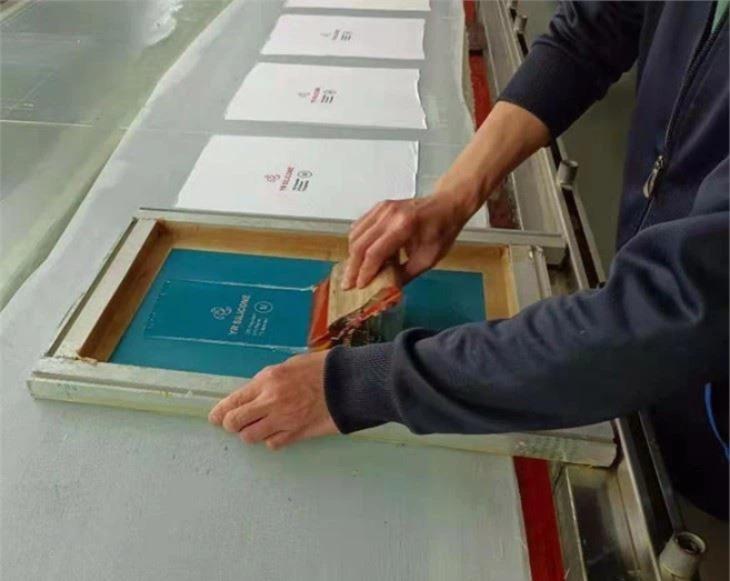
- Depending on what we are printing, you need a flat surface or platen to hold the material in place during printing.
7. Curing Equipment
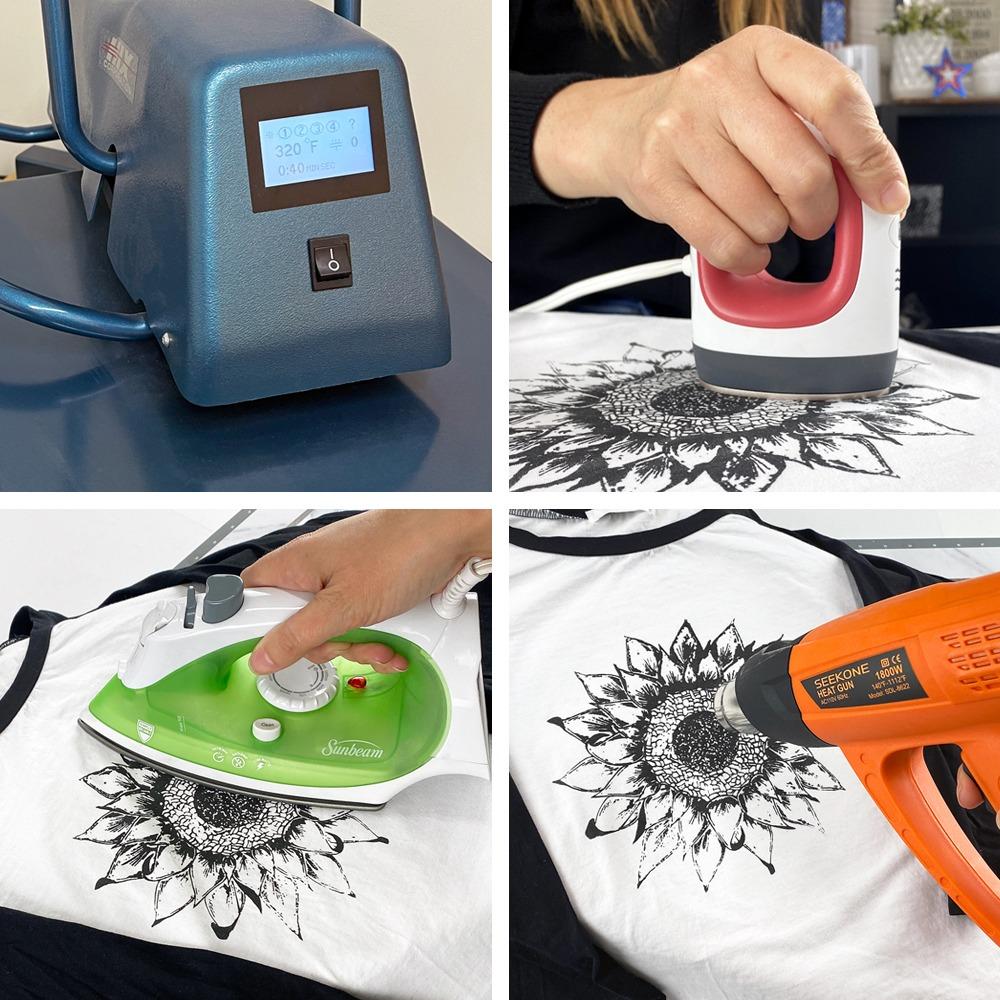
- A heat source, such as a flash dryer or conveyor dryer, to cure or dry the ink after it has been printed. This makes the print durable and prevents it from smudging.
8. Cleaning Supplies
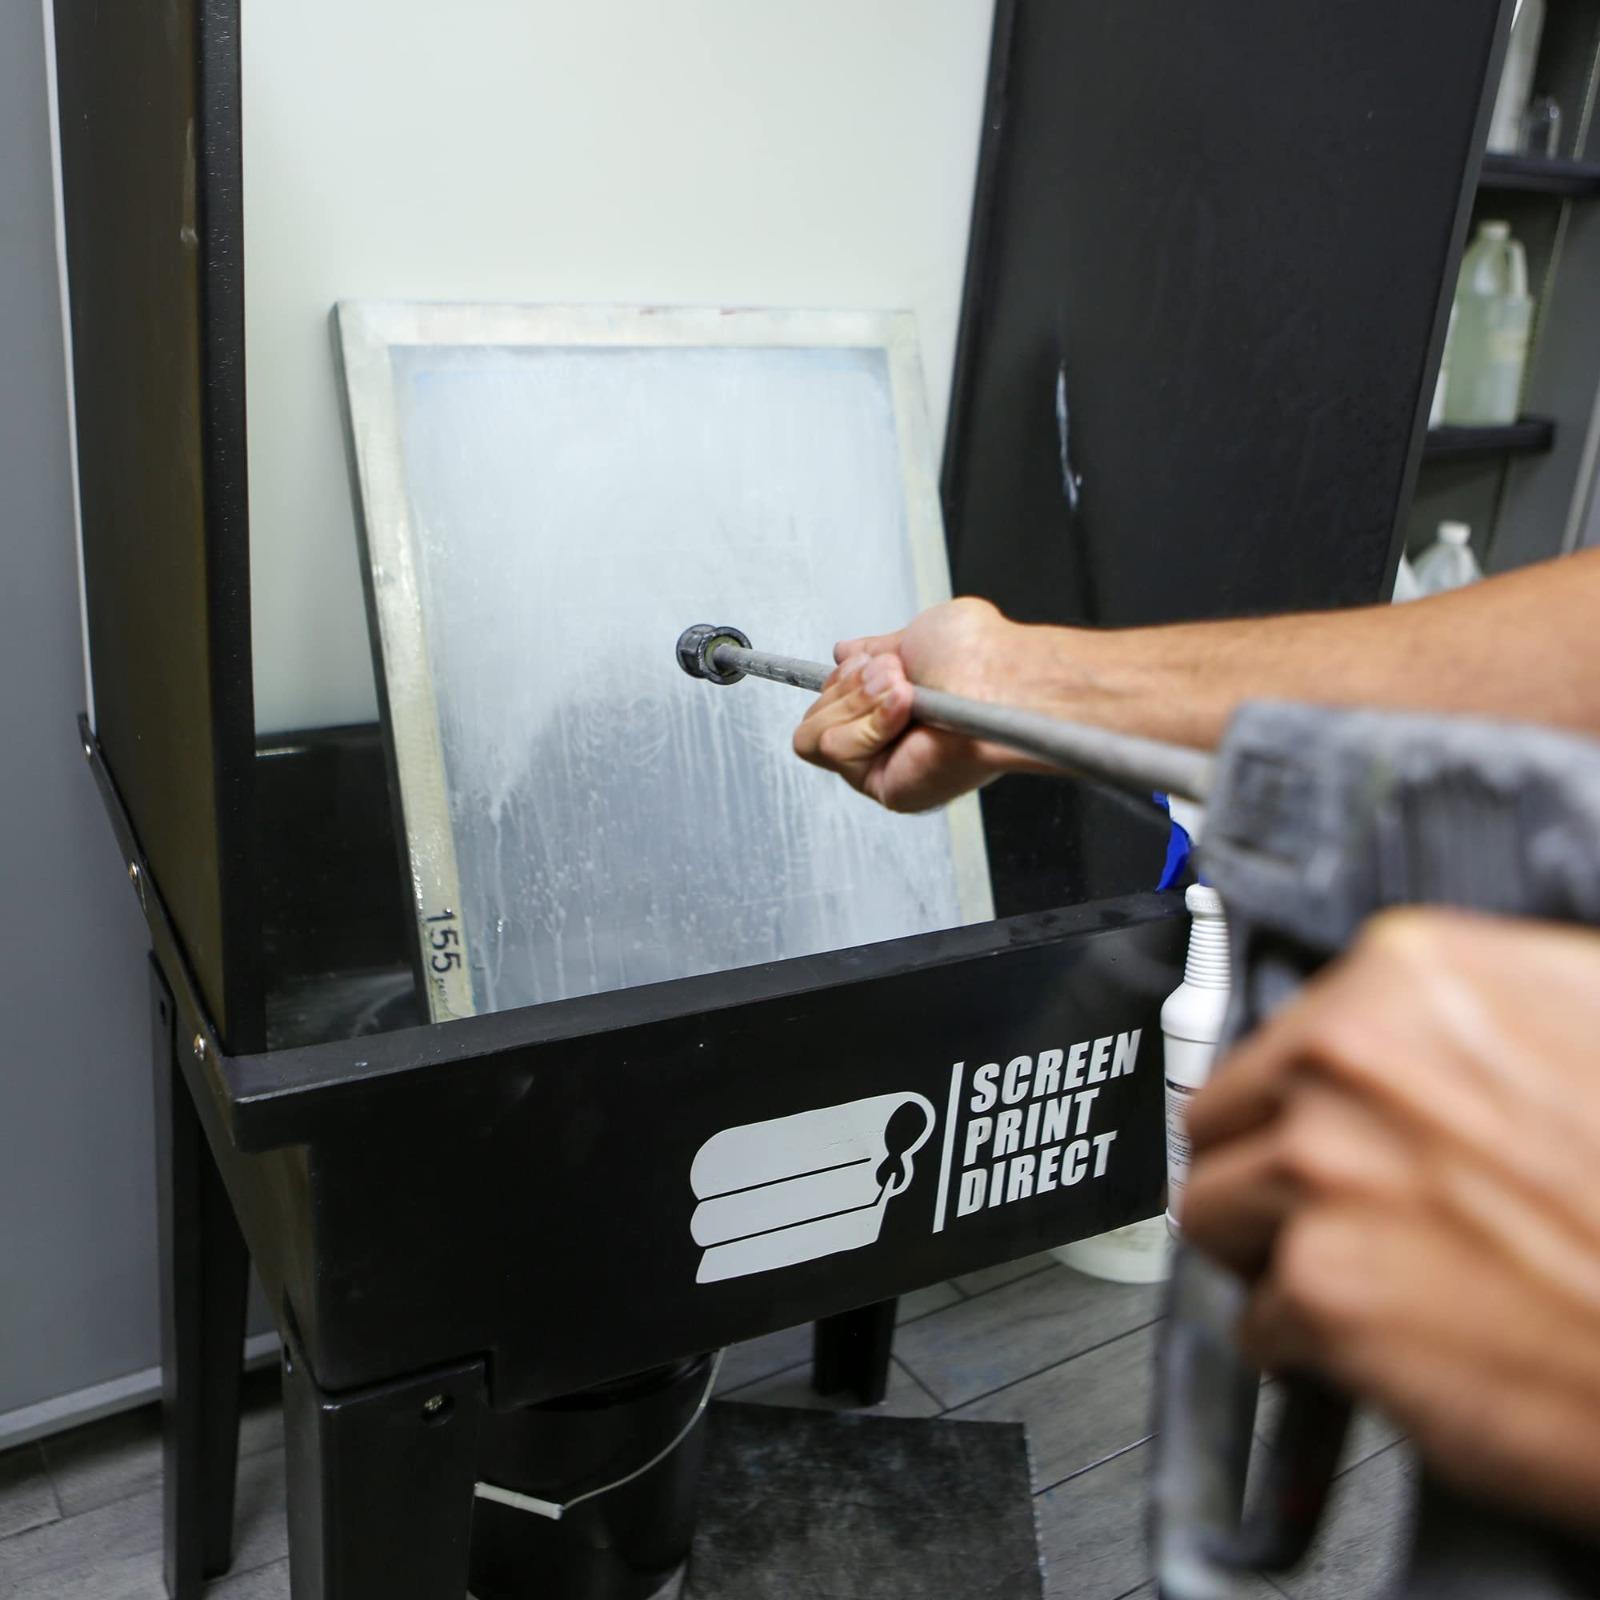
- After each print run, you will need to clean your screen, squeegee, and other tools using water and screen-cleaning solvents to remove ink residue.
9. Masking Tape or Block-out Material
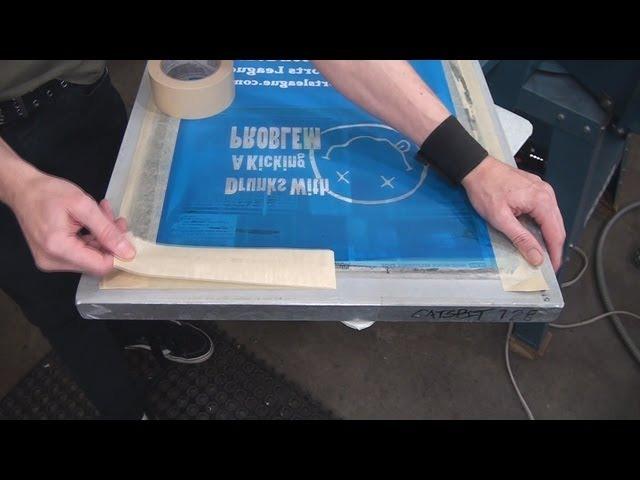
- Used to block out areas on the screen that shouldn’t be printed on, ensuring clean and precise designs.
Screen printing on fabric is ideal for:

Simple, bold designs and graphics.
High-volume production, especially for custom T-shirts and apparel.
Multi-color designs that can be layered.
Text-based designs with clear fonts.
Using specialty inks for unique effects (e.g., glitter, metallic, or puff).
Large format prints like full-back or full-front designs.
Printed fabrics for fashion, home décor, and accessories.
For highly detailed artwork or photographic images, alternative printing methods like DTF (direct-to-film) or sublimation may be better suited.
Versatile Screen Printing Techniques and Designs:
Screen printing is indeed a highly versatile printing method that can produce a wide range of effects and finishes, including pigment prints, rubber prints, and other specialty designs. Below are some types of prints that can be created using the screen printing technique:
1. Pigment Print
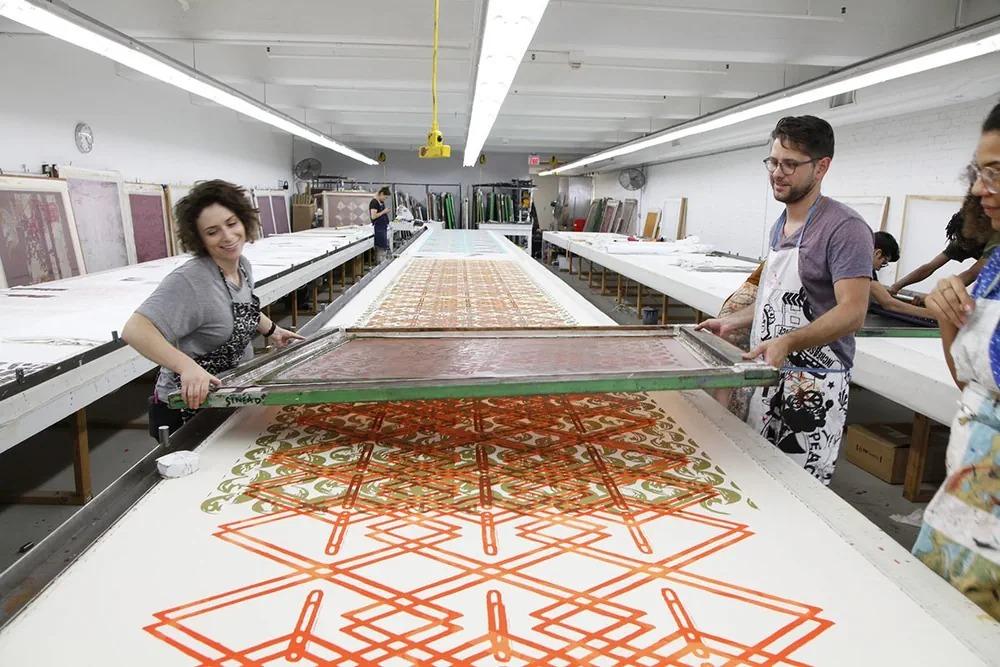
- Description: Pigment printing uses pigment-based inks that sit on the surface of the fabric rather than being absorbed into the fibers. The ink is bonded to the fabric with a binder.
- Use: Often used for vibrant designs on cotton and blended fabrics.
- Example: T-shirt designs with bold, colorful logos or graphic artwork.
2. Rubber Print (Plastisol Print)
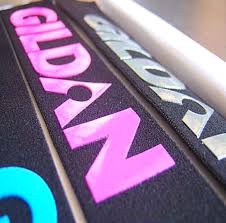
- Description: Rubber printing, often called plastisol printing, uses a thick, plastic-based ink that sits on top of the fabric, creating a smooth, shiny, and durable finish.
- Use: Ideal for bold, opaque prints, especially on darker fabrics.
- Example: Bold, durable prints on T-shirts, hoodies, and athletic wear.
3. Water-Based Print
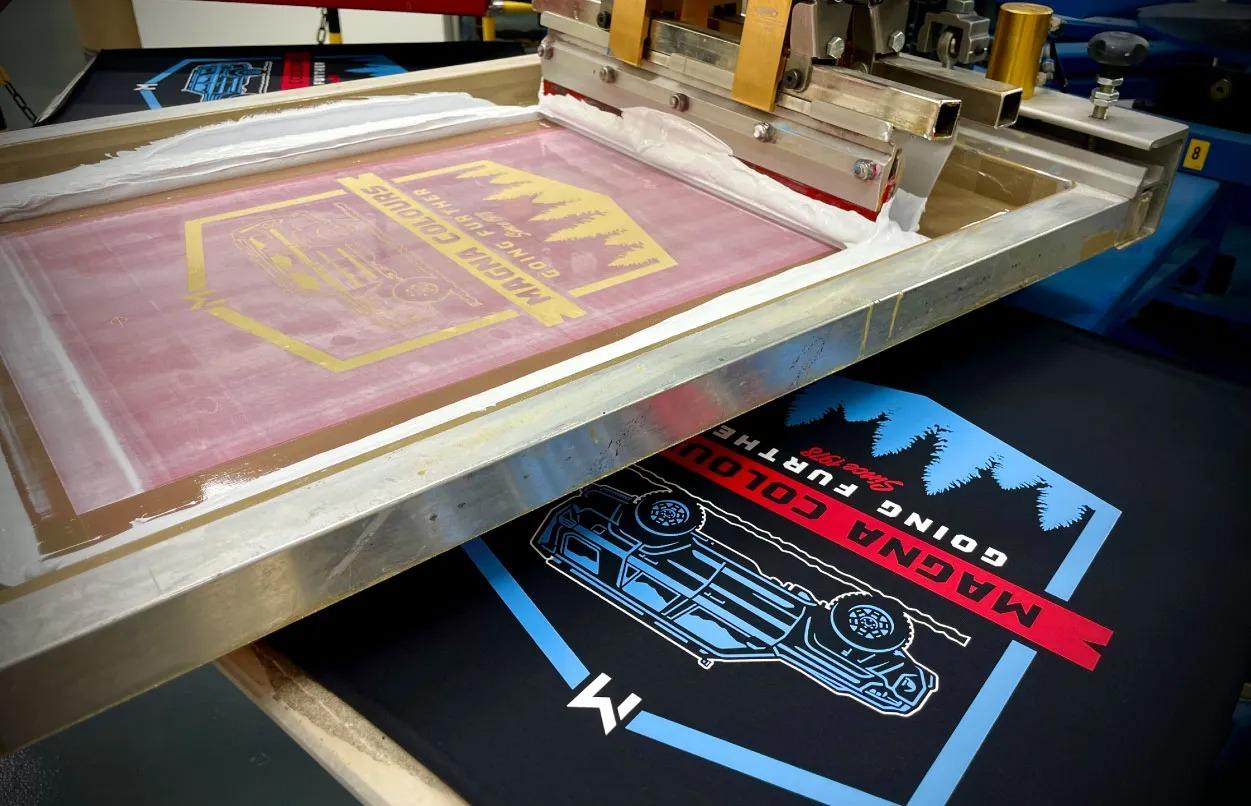
- Description: Water-based inks are absorbed into the fabric fibers rather than sitting on top, resulting in a softer feel and more breathable print. These inks are also eco-friendly.
- Use: Preferred for eco-conscious designs or soft, natural-feel prints.
- Example: Organic cotton T-shirts with soft, breathable designs.
4. Discharge Print
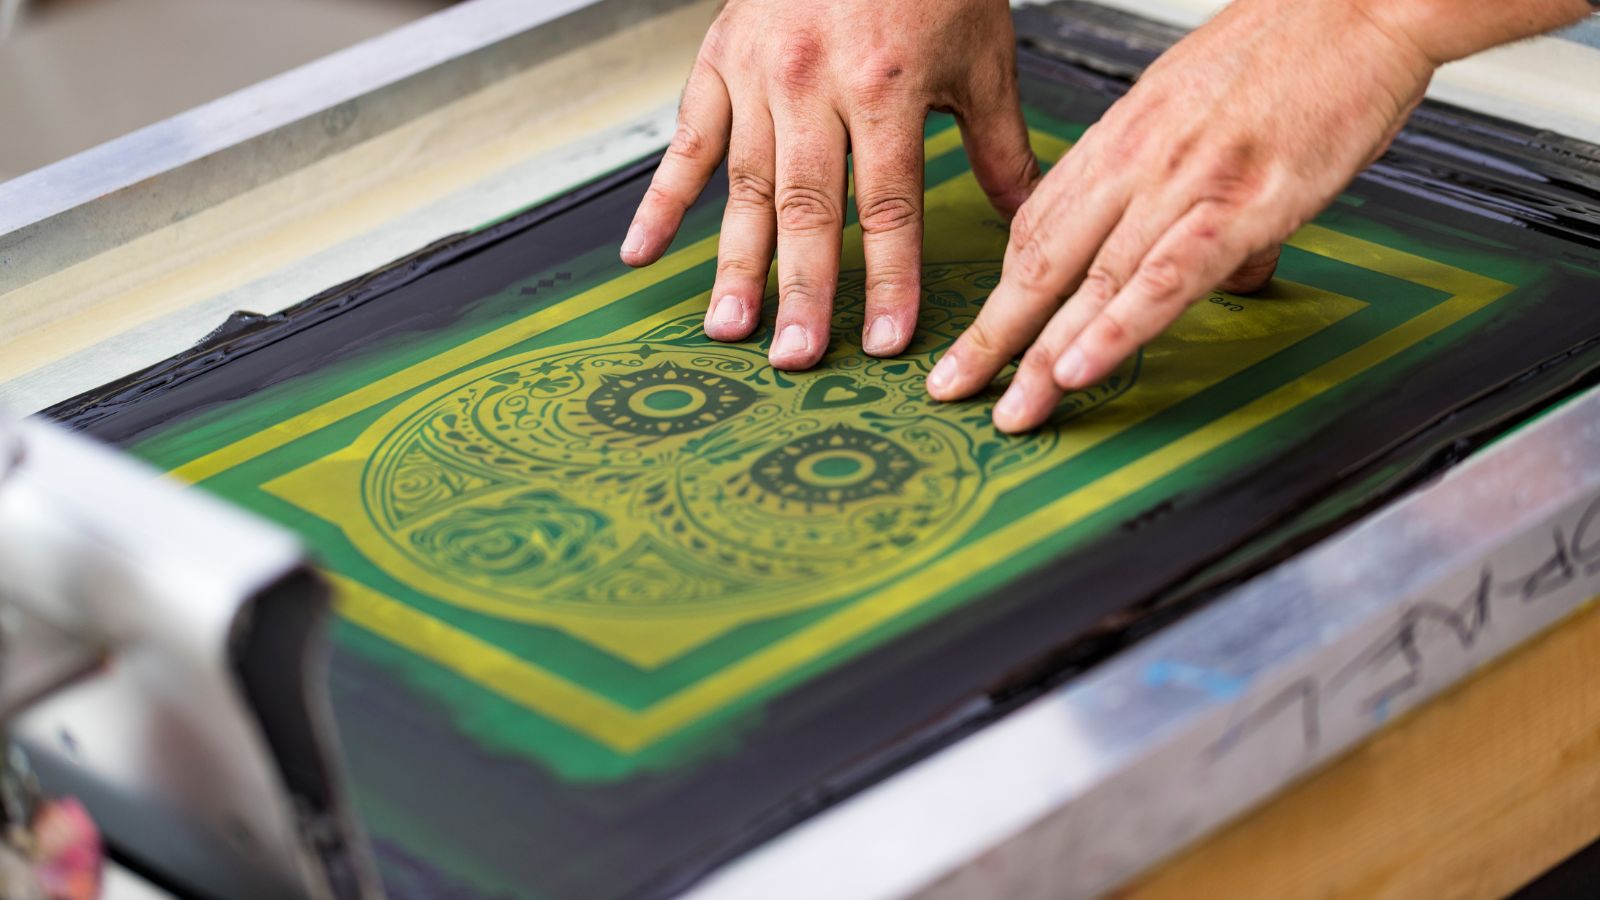
- Description: Discharge printing uses a special ink that removes the dye from dark fabrics and replaces it with a lighter color. This results in a soft, vintage-style print.
- Use: Typically used for retro or vintage-style designs, often on darker garments.
- Example: A faded, soft logo design on a dark T-shirt.
5. High-Density Print
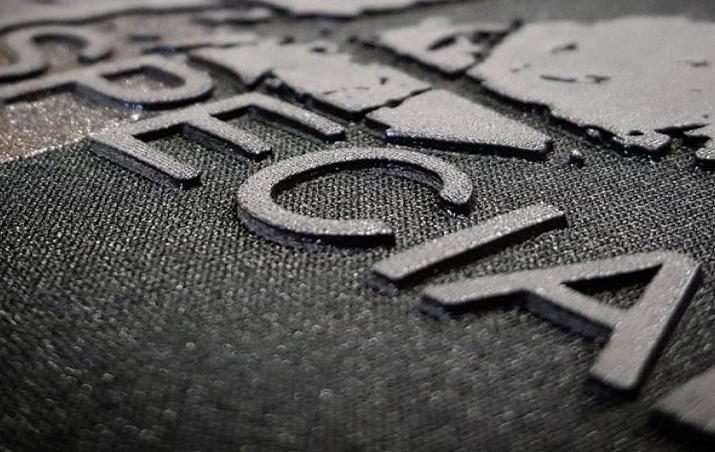
- Description: High-density printing uses thick inks that create a raised or textured effect on the fabric. This can give the design a 3D, tactile finish.
- Use: Ideal for bold logos, text, or designs requiring a raised texture.
- Example: A raised logo on a T-shirt or hoodie.
6. Glitter Print
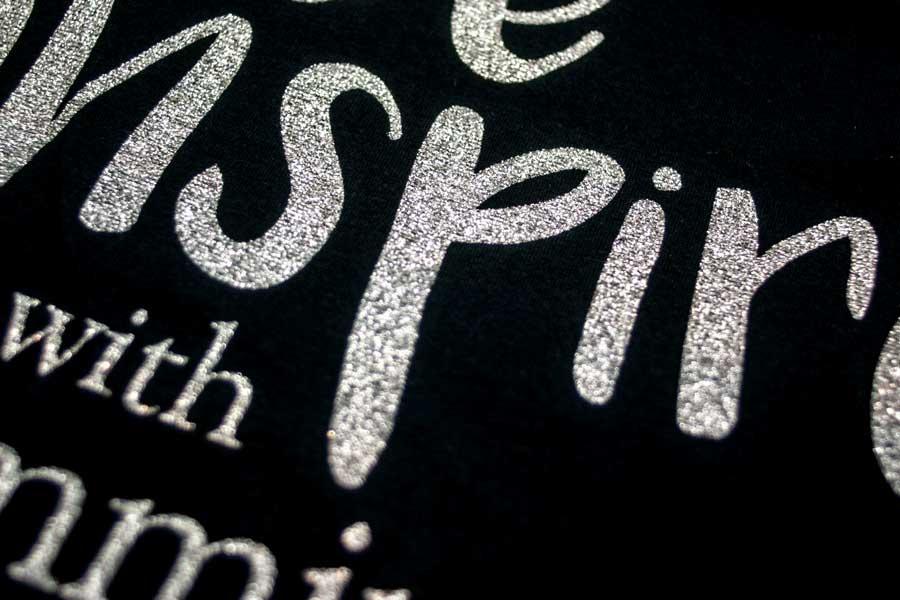
- Description: Glitter ink is used to add a sparkling or shimmering effect to prints. This creates a visually striking, reflective surface on the fabric.
- Use: Popular in fashion and special event apparel.
- Example: Glittery designs or logos on party wear or event merchandise.
7. Metallic Print
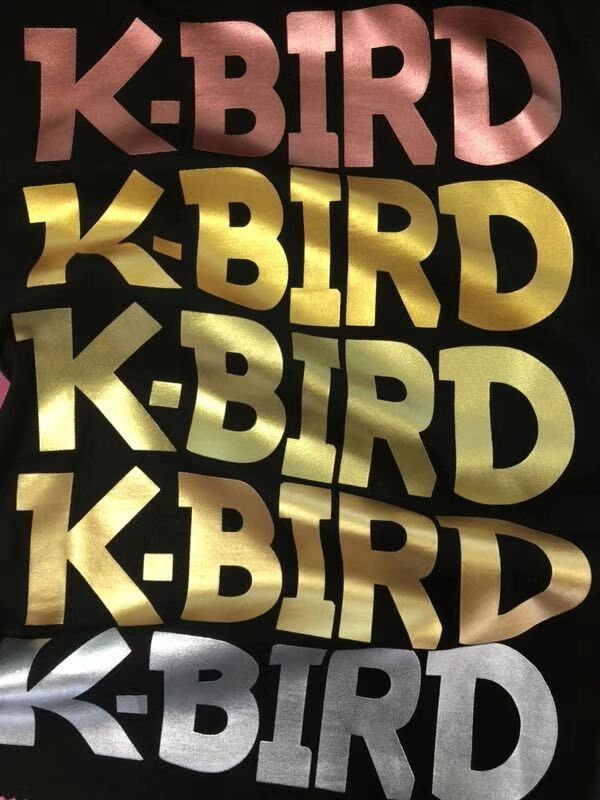
- Description: Metallic inks are used to create shiny, reflective designs with a metallic finish, often giving the print a gold, silver, or copper look.
- Use: Fashion items, high-end merchandise, and promotional products.
- Example: Metallic gold or silver logos on T-shirts or jackets.
8. Foil Print

- Description: Foil printing involves applying an adhesive to the fabric, followed by a layer of metallic foil. The foil adheres only to the areas with adhesive, resulting in shiny, reflective accents.
- Use: Often used for high-fashion or limited-edition items.
- Example: A shiny, metallic logo on a designer T-shirt or accessory.
9. Puff Print
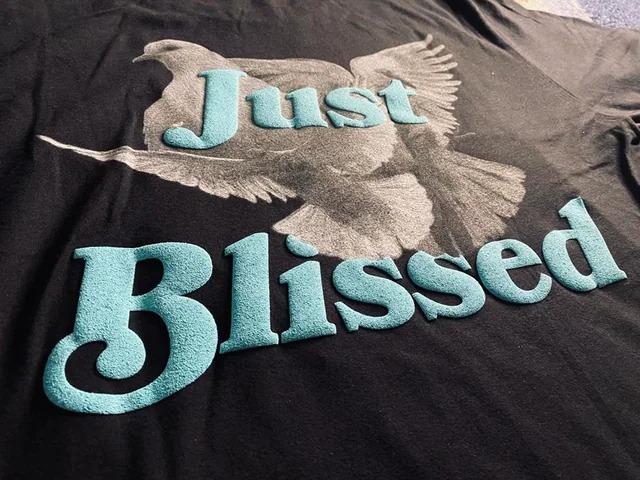
- Description: Puff ink is a special ink that expands when heated, creating a raised, 3D effect on the fabric. It adds a textured, bold look to designs.
- Use: Ideal for text or logos requiring a bold, raised effect.
- Example: A raised, puffy design or logo on T-shirts or hats.
10. Halftone Print
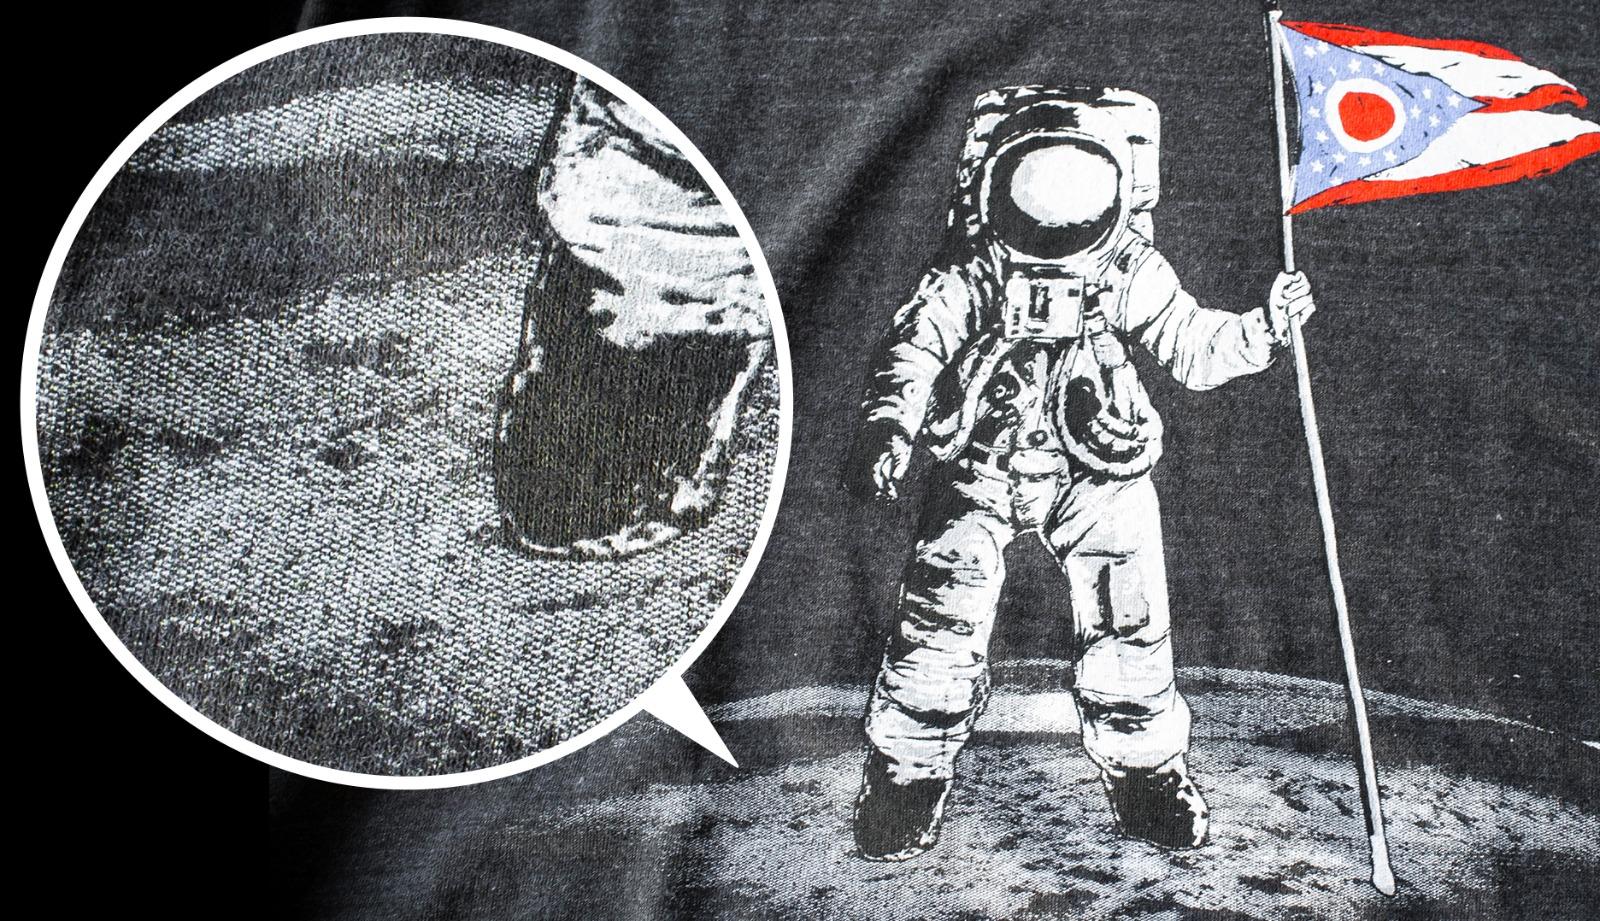
- Description: Halftone printing uses dots of varying sizes to simulate gradients, shading, or photographic images. This technique is often used to create smooth transitions of color or details in photographic images.
- Use: Photographic prints, detailed illustrations, and gradients.
- Example: A black-and-white photo print on a T-shirt, with smooth gradients.
11. All-Over Print
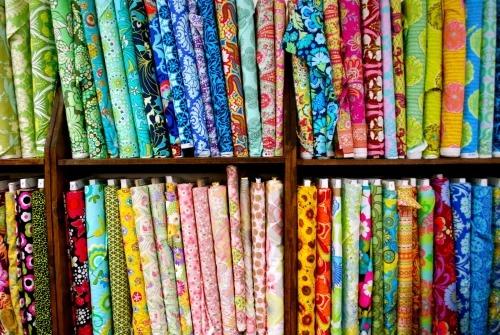
- Description: All-over printing involves covering the entire fabric with a continuous design or pattern, often requiring a large-scale screen printing setup.
- Use: Used for full-coverage designs, such as for T-shirts, hoodies, or fashion garments.
- Example: A full-body floral or abstract print on a T-shirt.
12. Specialty Ink Prints (Glow-in-the-Dark, Reflective, etc.)
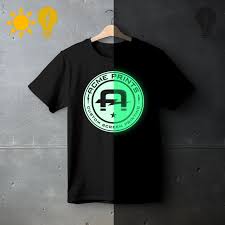
- Description: Specialty inks are used to create effects that change under specific conditions, such as glow-in-the-dark inks or reflective inks that shine when exposed to light.
- Use: Special effect designs, safety wear, or novelty products.
- Example: A glow-in-the-dark graphic or reflective logo on workwear or safety apparel.
Screen printing can create a wide range of print effects, from bold, opaque designs using rubber prints (plastisol) to soft, eco-friendly prints with water-based inks. Techniques like discharge printing, high-density prints, and puff prints add texture, while glitter and metallic prints provide visual appeal with a shimmering finish. Additionally, specialty inks like glow-in-the-dark or reflective prints offer unique effects that can enhance the design. With these options, screen printing remains a popular choice for producing high-quality, durable, and creative prints across various applications.
Pros of Screen Printing on Fabrics:
- Durability: Creates long-lasting prints that withstand frequent washing without fading or cracking.
- Vibrant Colors: Produces bright, bold, and vibrant colors, even on dark fabrics.
- Cost-Effective for High Volumes: More affordable per unit when printing in large quantities.
- Versatile Ink Choices: Works with a variety of inks (plastisol, water-based, metallic, etc.) to achieve different finishes.
- Suitable for Different Fabrics: Works well on a range of fabric types, including cotton, polyester, and blends.
- Large-Scale Prints: Ideal for printing large or all-over designs, such as T-shirts, hoodies, or banners.
- High Quality for Simple Designs: Perfect for bold, simple graphics and logos with solid colors.
Cons of Screen Printing on Fabrics:
- High Initial Setup Costs: Requires significant setup for creating screens, making it expensive for small runs.
- Limited Detail Reproduction: Not ideal for intricate, detailed, or photo-realistic designs.
- Complex for Multi-Color Designs: Requires separate screens for each color, which can complicate and slow down the process.
- Not Ideal for Small Orders: Cost per unit is higher for small batches, making it less economical for low-volume runs.
- Environmental Impact: Can involve harmful inks (plastisol) and chemicals, and significant water usage for cleaning screens.
- Limited to Flat Surfaces: Primarily works on flat fabrics and may require additional equipment for curved or 3D objects.
- Inconsistent on Textured Fabrics: Prints may not be smooth or consistent on textured or heavily woven fabrics.
Summary:
Screen printing works by using a mesh screen with a stencil to transfer ink onto a surface. The process involves preparing the screen, exposing it to light, printing the design, and curing the ink. To get started, you’ll need a screen, emulsion or stencils, squeegee, ink, light source, curing equipment, and cleaning supplies. Screen printing is a versatile and effective method for creating high-quality, durable prints on various materials.